
You picked the perfect color. You taped everything off, spent a Saturday rolling, and stood back to admire the work. And there they were. Every bump, every old patch, every roller mark, somehow more obvious than before you started.
Frustrating? Absolutely. But here’s the part most homeowners don’t hear: uneven walls almost never need new drywall or a big renovation. What expert interior painters do is prep, prep, prep.
Our crews at Ulta Home have painted just about every kind of wall MetroWest Boston has to offer. Newer builds in Ashland with a couple of drywall patches. Century-old houses in Framingham and Wellesley where the original plaster has settled, cracked, and been repaired more times than anyone can count. Different walls, same lesson every time. The finish is decided before the paint can is opened.
So whether you’re painting freshly repaired drywall or trying to rescue a room that’s seen better decades, these seven tips will get you a smoother result. And if you get halfway through this list and think, nope, not my weekend? We’re happy to take a look.
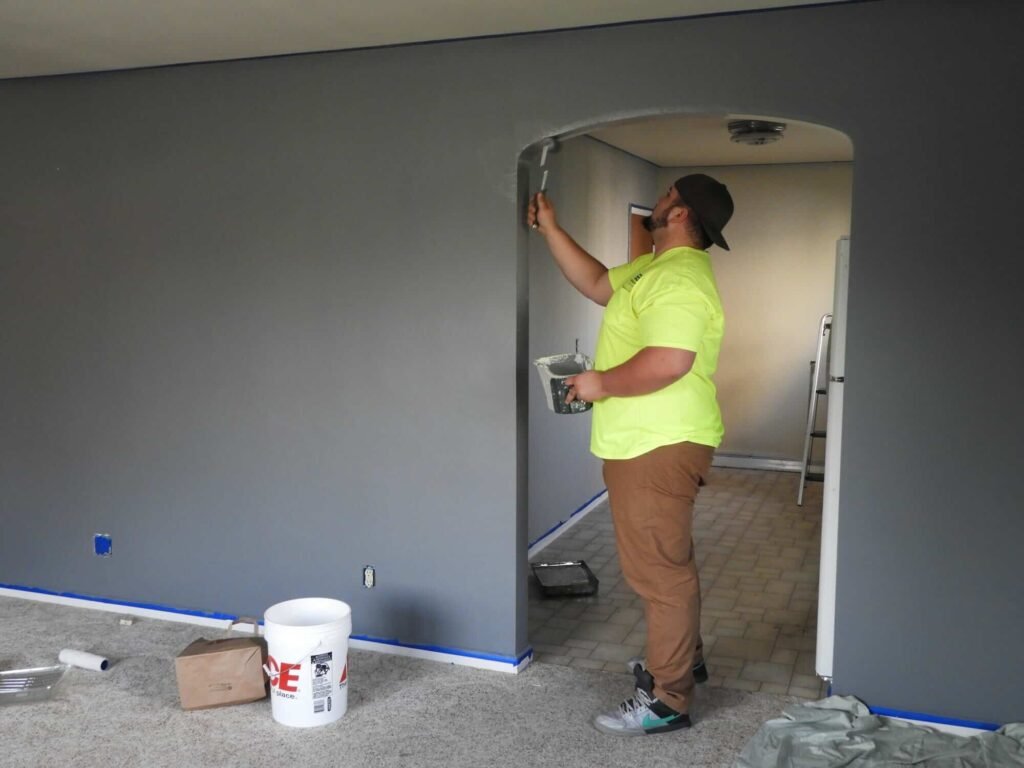
Why Walls Look Uneven After Painting
Blame gets pointed at the paint. It’s rarely the paint’s fault.
Paint doesn’t create flaws, it reveals them. A fresh coat changes how light travels across the surface, and suddenly that patch from last year’s picture-hanging project is the first thing you notice when you walk in. The usual suspects: drywall patches, nail holes, sloppy joint finishing, decades of paint buildup, roller marks, water damage repairs, or walls that just never got prepped. Older homes around Greater Boston bring their own quirk, too. Plaster develops hairline cracks and subtle waves as a house settles through year after year of New England freeze and thaw.
Sheen matters more than people expect. Glossy and satin paints bounce light around and put every flaw on display, especially where strong window light rakes across a wall. Flat and matte finishes scatter light instead, so they’re far more forgiving. Hold that thought, it comes back in Tip 7.
Tip 1: Inspect and Repair the Surface First
Grab a work light (a phone flashlight works in a pinch) and hold it at a sharp angle against the wall. Raking light exaggerates every dent and ridge, which is exactly what you want right now. Better to find them all today than after the second coat. Circle problem spots lightly in pencil as you go. Here’s what you’re hunting for:
- Dents, dings, and nail holes
- Cracks, including hairline ones near door frames and ceilings
- Peeling or flaking paint
- Water stains (and figure out where the water came from first)
- Spots where the texture just doesn’t match the rest of the wall
Small holes get lightweight spackle. Wider cracks and drywall seams need joint compound, applied thin and feathered out several inches past the damage so the repair disappears into the wall around it. Tempting to skip all this and hope the paint covers it? It won’t. You’ll end up doing the prep anyway, plus a repaint.
Tip 2: Sand for a Smooth Foundation
This is the step people skip. It’s also usually the difference between a wall that looks repaired and a wall that looks new. Match your grit to the job:
| Wall Condition | Recommended Grit |
| Heavy repairs and thick patches | 80 to 100 grit |
| General surface preparation | 120 to 150 grit |
| Between primer and paint coats | 220 grit |
Start coarse on built-up repairs, finish fine. A sanding pole covers full walls fast; a sanding sponge gives you control around outlets, corners, and trim. Then, and this part is not optional, get every speck of dust off the wall. Vacuum first, follow with a barely damp rag. Primer won’t bond to dust, and leftover grit dries into the finish as tiny bumps you’ll feel every time you run a hand across the wall.
Tip 3: Choose the Right Primer
Repaired drywall drinks paint differently than the wall around it. Bare joint compound is thirstier still. Paint over both without primer and you get flashing, the painter’s term for those dull or shiny patches where the sheen looks blotchy even though the color is identical.
Primer fixes that. One uniform surface, sealed patches, better adhesion, repairs that vanish under the finish coats. On walls with a lot of patchwork, spend a few extra dollars on a high-build primer. It goes on thicker and fills the fine imperfections that standard primer would let telegraph right through.
Think of it this way: one coat of the right primer often saves an entire coat of paint. Cheapest insurance in the whole project.
Tip 4: Use the Right Roller and Brush
The roller aisle is a wall of nearly identical-looking covers, but one number matters: the nap, meaning the thickness of the fiber. Thick naps carry more paint and reach down into texture. Short naps lay a smoother film on flat walls.
| Wall Texture | Roller Nap |
| Smooth walls | 3/8 inch |
| Lightly textured walls | 1/2 inch |
| Heavily textured surfaces | 3/4 inch |
And skip the bargain bin. Cheap covers shed lint into wet paint and leave stipple no technique can save. A decent microfiber roller and one quality angled brush for cutting in will outperform a whole bag of budget gear, and both clean up fine for the next room.
Tip 5: Apply Paint Using Consistent Techniques
Prep gets you ninety percent of the way there. Technique covers the rest, and it comes down to a simple rhythm:
- Keep a wet edge. Always roll back into paint that’s still wet. Once a section dries and you overlap it, you get lap marks, those faint stripes that only show up after everything’s dry and the afternoon sun hits the wall.
- Work in sections you can manage, rolling the paint on in overlapping W or M patterns.
- Smooth each section with long, light vertical strokes before moving on. Let the roller do the work. Pressing hard squeezes out ridges along the roller edges.
- Two thin coats, never one heavy one. Thin coats level as they dry and cover more evenly. Heavy coats drip, sag, and hold roller marks.
Tip 6: Allow Proper Drying Between Coats
Not the most exciting tip. Probably the most ignored one.
Every can lists a recoat window. Jump it, and the second coat drags and lifts the first, leaving a blotchy texture that’s genuinely hard to fix. And remember those times on the can assume ideal conditions, which New England rarely offers. A muggy July day in MetroWest or a chilly room in January can stretch drying well past the label. Trust the wall over the clock. Cool or slightly tacky to the touch means wait.
Between coats, a quick light pass with 220 grit knocks down any dust nibs that settled into the wet paint. Wipe it clean and the next coat goes on glass smooth.
Tip 7: Choose the Right Paint Finish
Remember the sheen conversation from earlier? This is where it pays off. Flat and matte finishes scatter light and visually flatten minor flaws. Satin and semi-gloss reflect light and advertise them. But finish is always a trade between forgiveness and durability, so think room by room:
- Bedrooms, dining rooms, ceilings: go flat or matte. Maximum forgiveness where walls take little abuse.
- Hallways and kids’ rooms: a washable matte or eggshell splits the difference.
- Kitchens, baths, and trim: accept more sheen for scrubbability, and put extra care into the prep since the finish will show more.
Common Mistakes That Lead to Uneven Paint
We repaint a lot of walls that homeowners tried to rescue first, and honestly, it’s the same short list of missteps every time. None of them are about skill:
- Skipping primer, especially over patched or repaired areas
- Painting over dusty or dirty walls
- Using the wrong roller nap for the texture
- Loading coats on too heavily instead of building thin layers
- Rushing the drying time between coats
- Leaving drywall repairs unfeathered at the edges
Avoid those six and you’re ahead of most weekend paint jobs already.
When Professional Painting Makes Sense
Some walls need more than a careful DIY effort, and there’s no shame in that. Extensive drywall damage. Cracks that keep reopening no matter how many times they’re filled. Water stains that might be hiding a bigger problem. Heavy imperfections that call for skim coating or plaster repair before paint ever enters the picture. There’s also the lead question: a huge share of Greater Boston’s housing stock predates 1978, and disturbing old paint layers in those homes calls for proper containment practices, not a rented sander and good intentions.
At Ulta Home, prep is where every painting project starts. Repairs, skim coating, sanding, priming, all of it handled before the first finish coat. If your walls have you second-guessing the whole idea, reach out for a consultation. We’ll give you an honest read on what the job actually needs, even if the answer is that you can handle it yourself. Contact us today.
Frequently Asked Questions
Can paint hide uneven walls?
To a point. A flat or matte finish minimizes minor imperfections, but paint can’t correct real surface damage. Repairs and primer do the heavy lifting.
What roller is best for uneven walls?
Usually a 1/2 inch or 3/4 inch nap, depending on the texture. The thicker fiber reaches into low spots a short nap would skip right over.
Do I need primer on repaired drywall?
Yes. Patch material absorbs paint at a different rate than the wall around it, and primer evens that out. Skipping it is the single most common reason patches show through.
Why does my paint look patchy?
Uneven absorption, thin primer coverage, or inconsistent application, most of the time. A proper primer coat plus one more finish coat usually solves it.
Should I sand between coats?
A light pass with 220 grit between coats removes dust nibs and noticeably improves the final finish. Just wipe the dust away before recoating.
What paint finish hides imperfections best?
Flat and matte. They scatter light instead of reflecting it, which visually softens flaws that a satin or semi-gloss would highlight.
Can textured walls be painted smooth?
Not with paint alone. A truly smooth wall over heavy texture takes skim coating with joint compound and thorough sanding, which is a job plenty of homeowners choose to hand off.
Painting Uneven Walls in MetroWest Boston? Ulta Home Can Help
One room or the whole house, the path to a beautiful finish runs through preparation, and smooth results on uneven walls are absolutely within reach. If you’d rather hand the repairs, priming, and painting to a team that does this every day, Ulta Home serves homeowners throughout MetroWest Boston, including Ashland, Framingham, Newton, Wellesley, Weston, and Westborough. Get in touch today and let’s talk about what your walls need.